- Published on
How to create custom push notifications with an API
- Authors

- Name
- myNotifier
- @thejonasme
Use an integrated API push notification tool built for the best developer experience.
In this post, I will show you how easily you can get started with myNotifier using JavaScript(or any other programming language). It'll be an application that sends a customized API push notification to your phone or desktop without downloading an app. This blog includes:
- Step by step guide on how to set it up
- An interactive example that lets you test it out in the browser
It is not required to have expert knowledge in programming but it's a plus if you have some of the basics down. Other than that, you just need a modern web browser and a working internet connection.
If you somehow get stuck or if there's something you don't understand, don't be afraid to contact me on Twitter
Let's get started
I created a little boilerplate that doesn't do anything yet. You can use this to get started and work directly in it or copy and paste it into your project if you prefer that.
You can see the boilerplate hereOne of the most common use cases for JavaScript is for making dynamic web pages in the browser. This allows you to change data/design when a user performs some kind of action. JavaScript can also be used for creating servers, mobile apps, and desktop applications. What we're building today can also be used in a JavaScript mobile app, node server, or desktop app. Today we're focusing on the browser for sake of simplicity and quickly putting it into practice.
Creating event handlers
For now, we have a button, that doesn't do anything when pressed. Let's change that.
By adding an event listener on the button click, we can choose what's going to happen when the button is pressed. You do that by adding the code below to the JavaScript tab in the CodePen.
const btn = document.getElementById('js-notification')

btn.addEventListener('click', () => {
  alert('You clicked me!')
})
What we're doing here is taking the button object by the button id tag and adding an eventListener when it's pressed. For now, it creates an alert box that says 'You clicked me'!
Let's change that now.
fetch
fetch is a web API that is built into JavaScript that lets you make HTTP requests. We're going to be using that today to build our application. Using fetch is one of the easiest ways to make these requests, but you could also use tools like jQuery, Axios, and many more.
The task of this application is to send a notification when the button is clicked. We'll be using fetch and the myNotifier API to do this.
myNotifier API
The myNotifier API lets you create notifications when a new event occurs. This could for example be when a new user buys a subscription from your service or when a server is experiencing some trouble. This can be done by sending a HTTP request with the right information to our API.
Here's an example using JavaScript and fetch:
fetch('api.mynotifier.app', {
  method: 'POST',
    headers: {
      'Content-Type': 'application/json', // To let the server know that we're sending JSON data
  },
  body: JSON.stringify({
    apiKey: 'xxxx-xxxx-xxxx-xxxx', // A unique key you get when signing up
    message: "New payment!", // The message you want to send to yourself/team
    description: "A payment off $99 has been made", // A more descriptive message. It's optional
    type: "success", // info, error, warning or success
    project: "xxxxxx" // If you have more projects on your account then you can specify the project. This is optional.
  }}),
})
This would result in this on the dashboard:
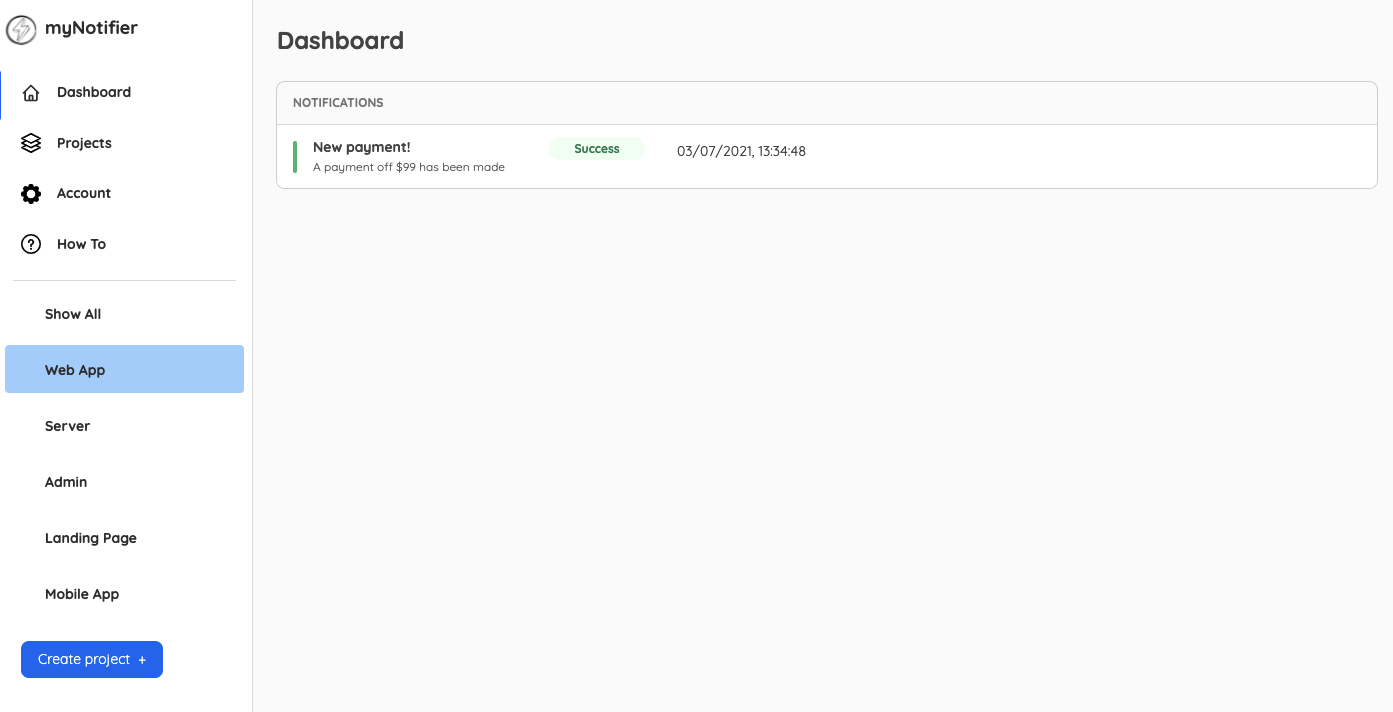
And this on the phone:
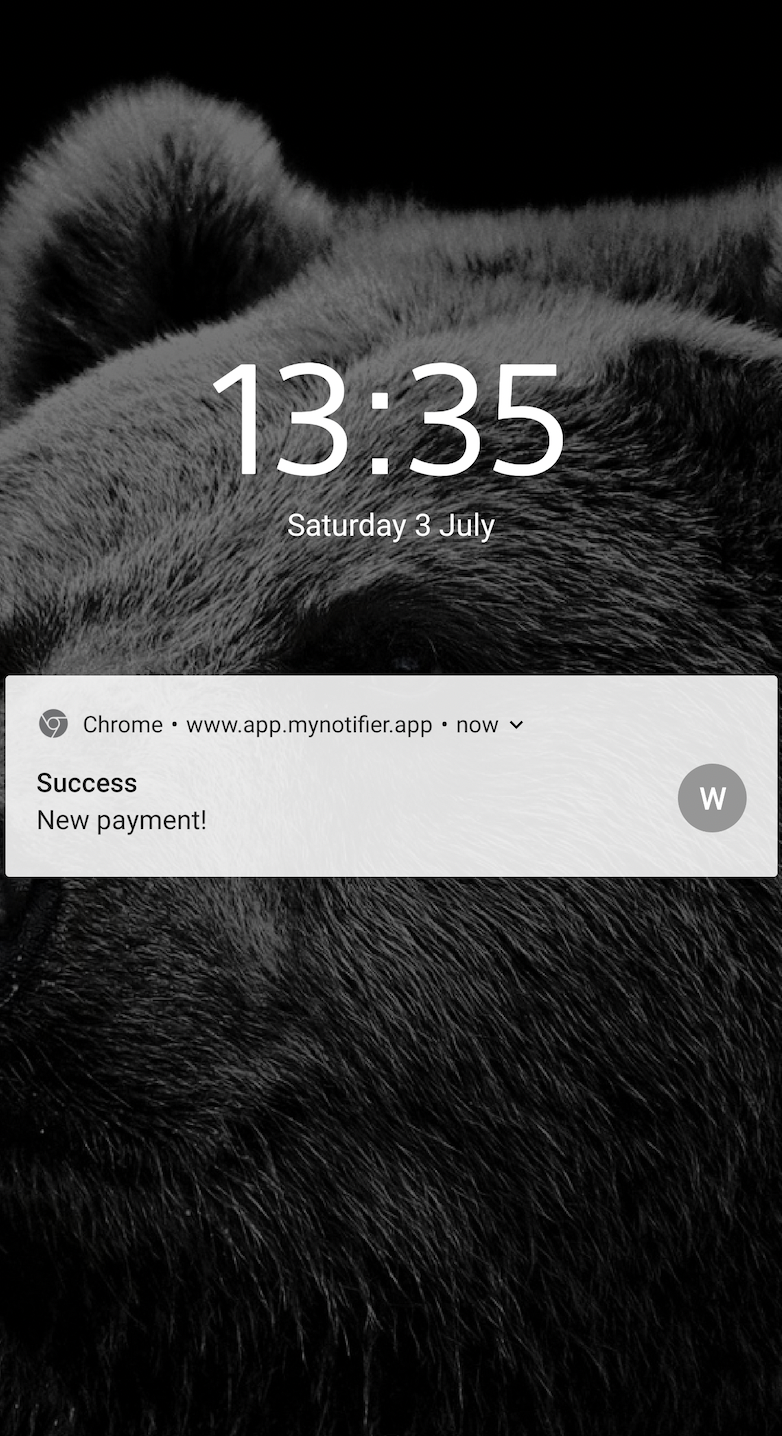
Very nice!
Let's implement it to our CodePen now.
Setting up myNotifier
First of all you need to set up myNotifier. Luckily that is done very quickly.
Create an account here for free. Takes just a second.
Go to the 'Account' tab after you logged in and get your API Key.
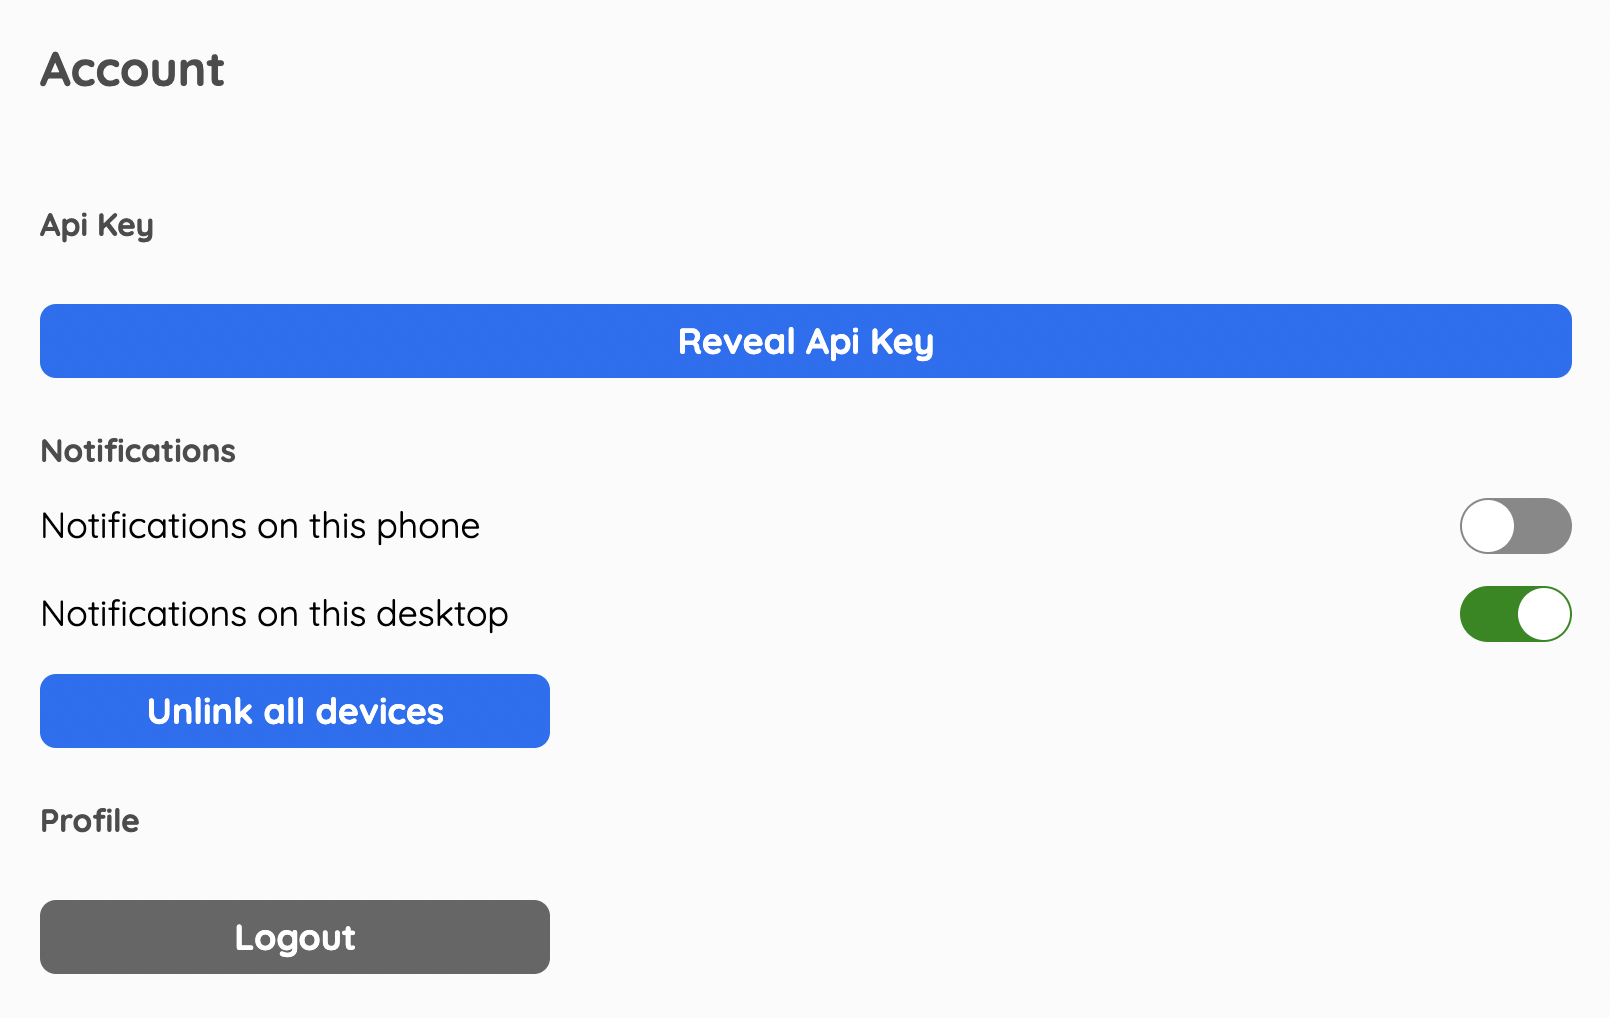
Click on the 'Reveal Api Key' to see it.
Now you know where your api key is when you need it.
You can also turn on notifications on your devices here. Note that if you want notifications on your phone, you need to log in on your phone and activate the 'Notifications on this phone' slider.
If you want to create a project then you can go to the 'Projects' tab in the menu and create a project and get the project id. Otherwise, it just shows up in the 'Show All' tab in the Dashboard. That's also completely fine.
Implementing fetch to the myNotifier API
Now you're all setup, so let's put it all together in the CodePen!
const btn = document.getElementById('js-notification')

btn.addEventListener('click', () => {
  fetch('api.mynotifier.app', {
    method: 'POST',
    headers: {
      'Content-Type': 'application/json',
    },
    body: JSON.stringify({
      apiKey: 'xxxx-xxxx-xxxx-xxxx', // Input your own api key here.
      message: 'New payment!', // The message you want to send to yourself/team.
      description: 'A payment off $99 has been made', // A more descriptive message. It's optional.
      type: 'success', // info, error, warning or success
      project: '', // If you have more projects on your account then you can specify the project. This is optional.
    }),
  })
})
Now go into your dashboard here and see what it looks like. If you have done everything correctly, then you should have gotten an update and notification if you set that up. Good job!
Conclusion
Now we're done and you know how easy it is to set up myNotifier to get notified of changes or updates in your application. I hope you learned a lot from it. I'm looking forward to seeing what people are going to be using it for. Maybe you have a client-side that needs to send updates, an API that runs cron jobs, a server, or maybe a raspberry pi.
If you have any questions or feedback for this tutorial, contact me on Twitter and I'll respond as soon as possible. Give a follow while you're at it if you want to hear about updates on myNotifier and be a part of the growth.
Thanks for reading and keep coding on! 💙
-- Jonas
Never miss an update!
Latest news, articles, tutorials and updates on myNotifier delivered straight to your inbox.